I may receive a commission if you purchase through links in this post. I am not a doctor; please consult your practitioner before changing your supplement or healthcare regimen. As an Amazon Associate I earn from qualifying purchases.
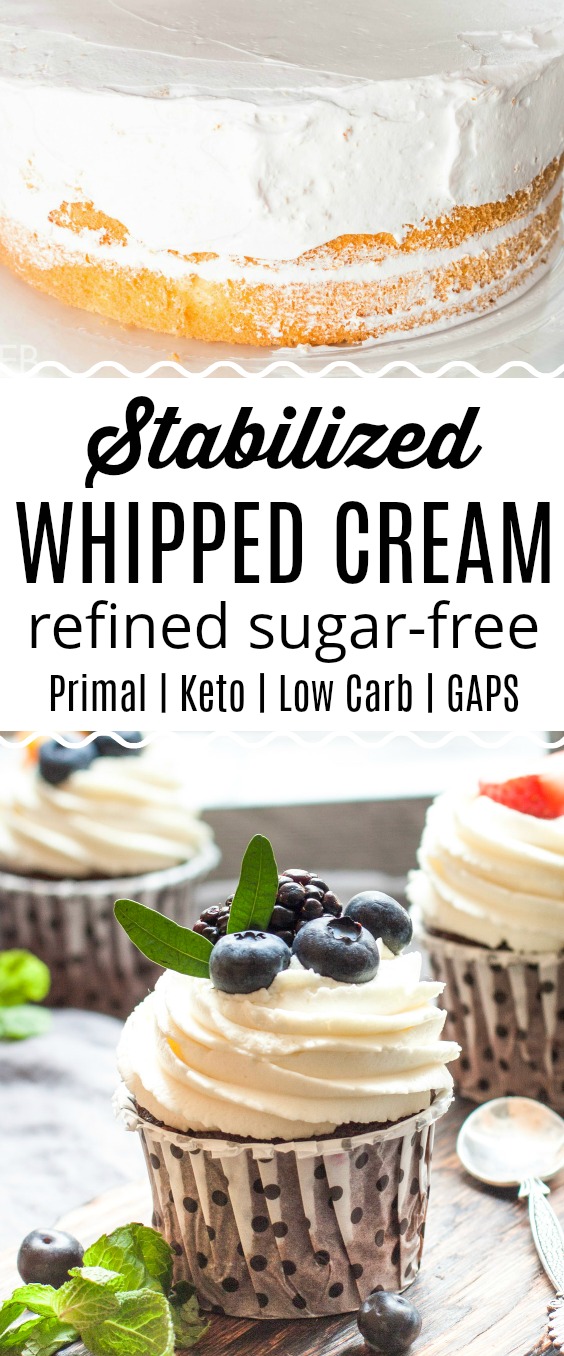
For wilt-free whipped cream on cakes, cupcakes, pies and more, Stabilized Whipped Cream will last! More good news? You can make this recipe with any sweetener you like!: powdered sugar, unrefined powdered sugars like coconut sugar or low carb sweeteners, maple syrup, honey or even stevia. This recipe is Primal, Keto, Low Carb, Ancestral and GAPS diet-friendly.
Use store-bought cream or even raw cream.
Primal, Keto, Low Carb and GAPS Whipped Cream
At our café in Oregon, we had customers with a variety of diets. And we tried to cater to those with unique dietary needs. So we made grain-free treats with unrefined and low carb sweeteners.
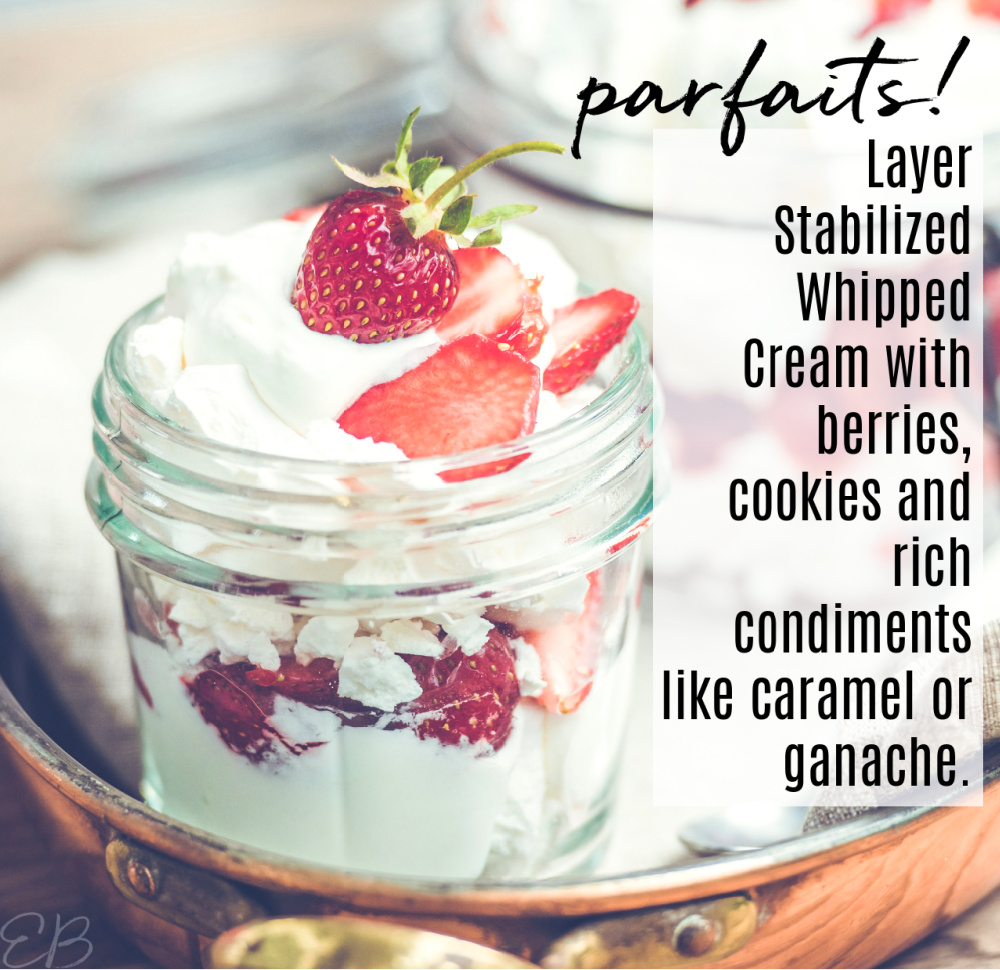
One item we loved making and that simply flew out the door were: parfaits! These beautiful layered desserts are all topping! For anyone who loves decadence (and that’s me), parfaits give us permission to eat a whole bowl-full of the rich stuff: maple syrup ganache, honey-sweetened compote, fresh local berries, rich custard, flavored whipped cream, vanilla bean Keto crème fraiche, nut-date crumble, sprouted nuts, caramel and more.
The ingredients all got layered, depending on the parfait flavor, and eaten with a spoon. We also layered in grain-free, sugar-free cookies, brownies, chocolate cake, scones and shortbread, but the rich toppings played the key role — visually, texturally and flavor-wise.
Whipped Cream that won’t wilt
Early on, one conundrum developed: How to keep the whipped cream from collapsing? Once again, gelatin played the silent supporting role, literally and figuratively.
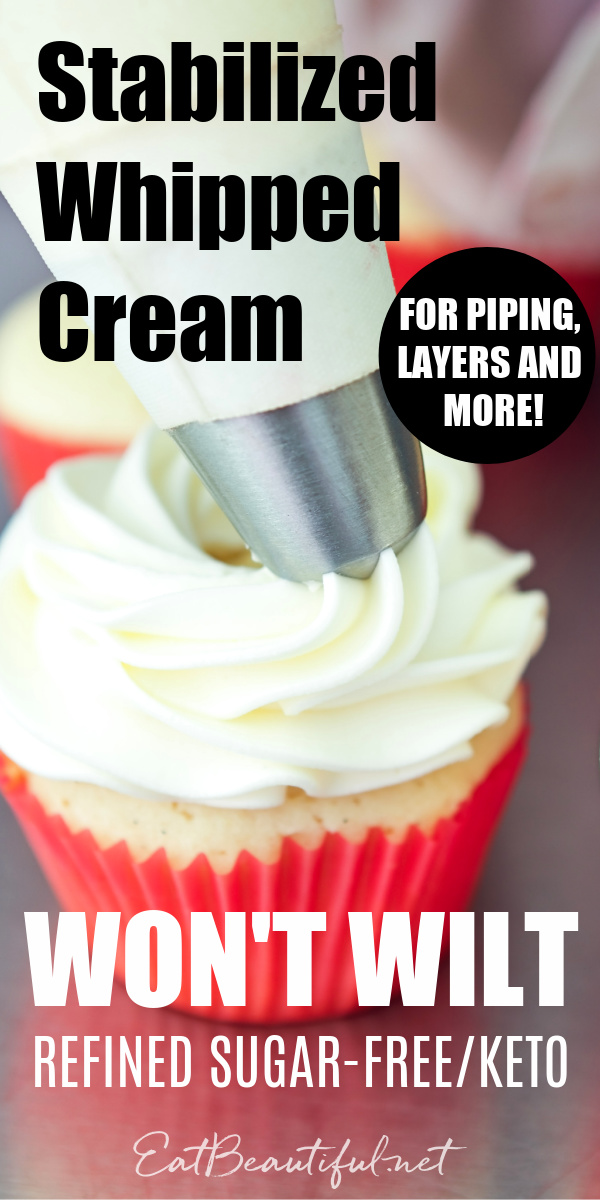
Today I’ll share my recipe for keeping your whipped cream voluminous and full-bodied. This method works great for layer cakes, cream pies, cupcakes, anywhere you want whipped cream that will last and that won’t wilt!
Stabilized Whipped Cream (Frosting) Ingredients
This recipe features whipped cream (with GAPS diet variation), sweetener and gelatin. A little water is also used to dissolve the gelatin in.
Stabilized Whipped Cream is basically a 4-ingredient recipe.
Stabilized Whipped Cream flavors
You may also flavor the whipped cream. I’ve given some fun variations for simple flavor alternatives, below in the recipe. Depending on your dessert, consider:
- vanilla (very traditional, of course)
- peppermint
- matcha
- coffee
- cinnamon
- liqueur
- cocoa
- citrus
Which sweetener to use
Regarding the sweetener, you may use any unrefined or low carb sweetener of your choice.
For Primal:
- honey
- pure maple syrup
- powdered coconut sugar (To make this, simply blend coconut sugar in your blender or coffee grinder with a small amount of tapioca flour or arrowroot [the ratio is 1 cup : 1 Tablespoon].)
For Keto:
- powdered low carb sweetener
- liquid low carb sweetener
- stevia
For GAPS:
- raw honey
Other diets:
- agave syrup
- powdered sugar
- brown rice syrup
How Stabilized Whipped Cream is made
Stabilized Whipped Cream is made by dissolving a small amount of gelatin in water, heating the water to dissolve the gelatin, letting the gelatin water cool a little — and then pouring the water into soft whipped cream while beating.
Zoom in: While the gelatin water cools (don’t let it cool completely, because we don’t want it to gel yet), whip the cold cream into soft peeks. Pour the gelatin water in, while beating.
Stiffened Whipped Cream still looks and feels soft.
You don’t want to beat it too long (which turns it into butter), but it will now hold its shape.
How to store and use Stabilized Whipped Cream
It’s best to use Stabilized Whipped Cream right away, while it’s cool room temperature. Once chilled, it sets softly and will not retain its billowy mobility. 😉
To decorate with it, you may frost a cake or pipe swirls. It also works well in layer cakes or as layers in a parfait. To pipe with it, fill a pastry bag, and use it like you would a buttercream type frosting.
To store a dessert that’s already been decorated, simply refrigerate until you’re ready to serve and eat.
But you may also set out a refrigerated dessert at room temperature for several hours, and the Whipped Cream will hold its shape well.
Stabilized Whipped Cream (refined sugar-free; uses stevia and/or honey)
Equipment
- beaters
- bowl
Ingredients
- 2 cups heavy whipping cream ; use fully cultured sour cream for GAPS diet
- ¼ cup filtered water room temperature
- ¼ cup honey optional, or pure maple syrup; for Keto: use low carb liquid sweetener or just stevia to taste
- 1 teaspoon gelatin
- extract options — ⅛ tsp. peppermint oil (not EO) , citrus oil, or 1 tsp. vanilla extract (the strength of different peppermint oil brands will vary; so start with ⅛ tsp., to taste and add more if needed)
- flavor variations - use Matcha green tea powder dissolved in the water, 1-2 tsp., to taste; strong, black coffee in place of the water with 1 T. instant espresso powder added; a favorite liqueur in place of the water; or whisk 1 T. cocoa into the water until it's fully dissolved; ½ tsp. cinnamon
Instructions
- Pour the water into a small saucepan. Sprinkle the gelatin evenly over its surface.
- Over low heat constantly stir the water until it begins to steam and the gelatin becomes clear and fully dissolved. Do not simmer. Add optional sweetener and stir briefly. Set aside.
- Pour cream into a chilled bowl or food processor.
- Using a hand-held mixer or food processor, beat the cream just until the soft peaks begin to form; times will vary depending on your equipment, up to 3 to 4 minutes with a hand-held mixer. (For GAPS version, whip sour cream until it's loose (not stiff from the tub), about 20 seconds.)
- When soft peaks are forming and the whole mass is happily volumizing, slowly pour the gelatin water in at one side of your bowl, whisking the stream of liquid into the body of your rising cream.
- Stop beating the cream when it is whipped beautifully, and before it becomes butter.
- It is now ready to use on top of pie, layered in parfaits etc. Or chill it for a short period to stiffen it a bit more for a purpose like piping it.
Notes
Which gelatin to use
I am excited to share Perfect Supplements' Gelatin. It's my favorite gelatin because of its grass-fed sourcing. They're an excellent company that fully discloses where and how (100% of the time!) their cows roam on green pastures, and they even test for pesticide residue. (Use code BEAUTIFUL10 at check out for 10% off your entire order.)Nutrition
Cakes and cupcakes to use with Stabilized Whipped Cream:
- Keto Primal Apple Cake (may be made into a layer cake too)
- Best Keto Yellow Cake (Primal, may be made into cupcakes too)
- Orange Creamsicle Cake (Paleo, GAPS)
As a side note, consider using grass-fed, organic cream, if you aren’t already. Grass-fed, organic cream provides guilt-free pleasure AND helps to support a worthy farm that’s doing animal husbandry, human nutrition and sustainable farming right.
(When cows eat grass you get the correct omega-3:omega-6 ratio in your food. See my article on this topic, Conventional Dairy (and Meat) Products, to understand the importance of avoiding American conventional dairy.)

thesustainablehome says
Reblogged this on My Atkins Journey and commented:
A little vanilla, eat it with a spoon! lol
linda spiker says
What a great idea! Gelatin for the win again!
Megan Stevens says
Yes, good point, Linda! 😉
nilou says
What a great idea! Have you tried this with coconut cream? We use a lot of whipped coconut cream around here, and it wilts even faster than dairy cream.
And what about blooming and dissolving the gelatin in cream, so as not to water down the finished product product?
Megan Stevens says
Hi and yes, I have done this successfully with coconut cream. The difference is that more fat needs to be added in. I add coconut oil when I make whipped coconut cream, and gelatin. I need to go looking around, lol, in our cafe kitchen where I have scrawled down the recipe. BUT I got this tip from The Nourishing Gourmet. I took her tips and figured it out from there. So here’s that link: http://www.thenourishinggourmet.com/2013/05/how-to-make-heavenly-coconut-milk-whipped-cream-with-an-isi-dispenser.html Cheers!
C T says
Did you ever find the coconut cream recipe? I’ve loved every single recipe of yours that I’ve tried – two of my kids have food allergies, but since your recipes use real ingredients, i can make the same treats for everyone and not have people feel left out.
Megan says
Hi Caroline! I understand and have the same situation with various food sensitivities and wanting to include everyone! I haven’t made the coconut version in a while, but the link to Nourishing Gourmet I hope is helpful. Did you try her recipe?
Jamie says
If piping on to cupcakes, how far ahead can this be done?
Megan says
Hi Jamie, you can pipe in the morning to eat later that afternoon or evening, to look its prettiest and freshest. But you can also do the day before, and then add a little fresh garnish when you serve, like a berry on each, sprinkles etc.
Jamie says
Thanks! So you wouldn’t recommend making it a day before? What about storing it in a piping bag and piping the day of? Too risky?
Megan says
My concern in making it the day before is that it sets. The air bubbles are fixed in place. So if you pipe it, it won’t be as billowy or fresh looking. Better to pipe it fresh ahead of time, chill overnight and then serve.
Theresa says
If just using for a topping on a pie or ice cream, say on Thanksgiving, can I make it the night before and use it the next day? Thank you.
Megan says
Hi Theresa, it works best to top the pie the day before, chill, then serve. Otherwise, it kind of sets up and isn’t as flow-y, billowy for serving. This recipe doesn’t work as well for fresh dollops the next day.
Jasmine says
So if I’m understanding right this doesn’t need to be sweetened at all? I prefer my whipped cream with vanilla only 0r rather with the natural sweetness of the cream itself. Also how would you impart the citrus flavor?
Megan says
Hi Jasmine, the recipe is sweetened, but yes, you could easily omit that. Add the vanilla or citrus with the gelatin liquid: with, right before or right after. Use a tiny bit of citrus oil, to taste, or 1 drop essential oil, or finely grated rind, and 1 to 2 tablespoons fresh juice.
Corinna says
Should you let the gelatin/sweetener mixture come down to room temp before adding to the whipped cream?
Megan says
Hi Corinna, it needs to cool from being hot to warm, but it shouldn’t cool all the way to room temp, or it will start to solidify.
JS says
Hi there, I just wanted to let you know that I made this for a layer birthday cake for my son, and it turned out perfectly. I put it in the middle layer with homemade blackberry jam underneath, and I also used it to frost the sides of the cake. Leftovers stayed perfectly in the fridge for several days. A real winner, so easy, and I will repeat! Thank you thank you.
Rachel says
How do you think this would turn out if I skipped sugar and added softened cream cheese? I made this to test out for my baby’s first birthday smash cake, and there wasn’t much flavor without the sugar. So I was wondering how you think it would hold up if I added cream cheese at the end?
Megan says
Hi Rachel, good question. I don’t know if it would split more, but the gelatin will help it stabilize. I haven’t tried it, so I’m not sure. Let us know if you do how it goes. 🙂