I may receive a commission if you purchase through links in this post. I am not a doctor; please consult your practitioner before changing your supplement or healthcare regimen. As an Amazon Associate I earn from qualifying purchases.
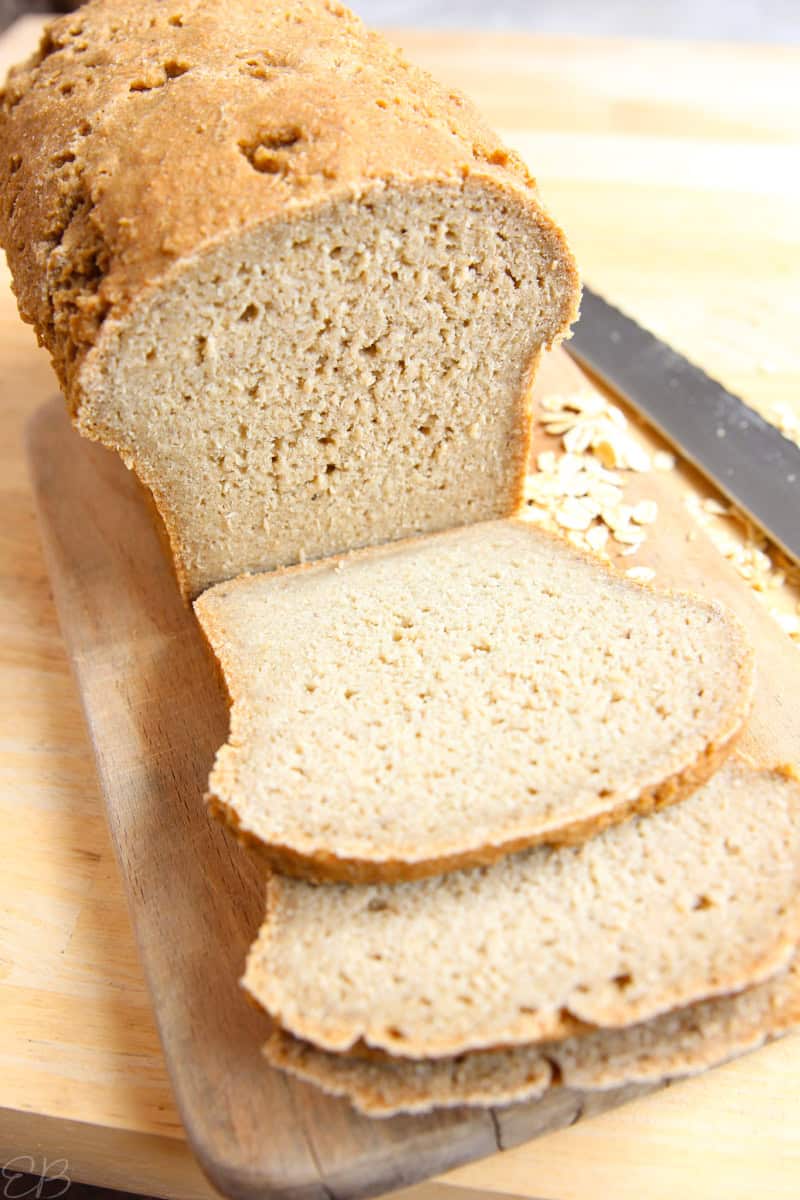
This Sourdough Oat Flour Bread is so perfectly textured and delicious tasting that it’s my favorite homemade bread loaf. Cut thinner slices for sandwiches or more thickly for freshly baked warm bread or toast. This versatile bread is gluten-free and vegan, plus very easy to make.
It’s also perfect for VAD, or Low vA.
Jump to Recipe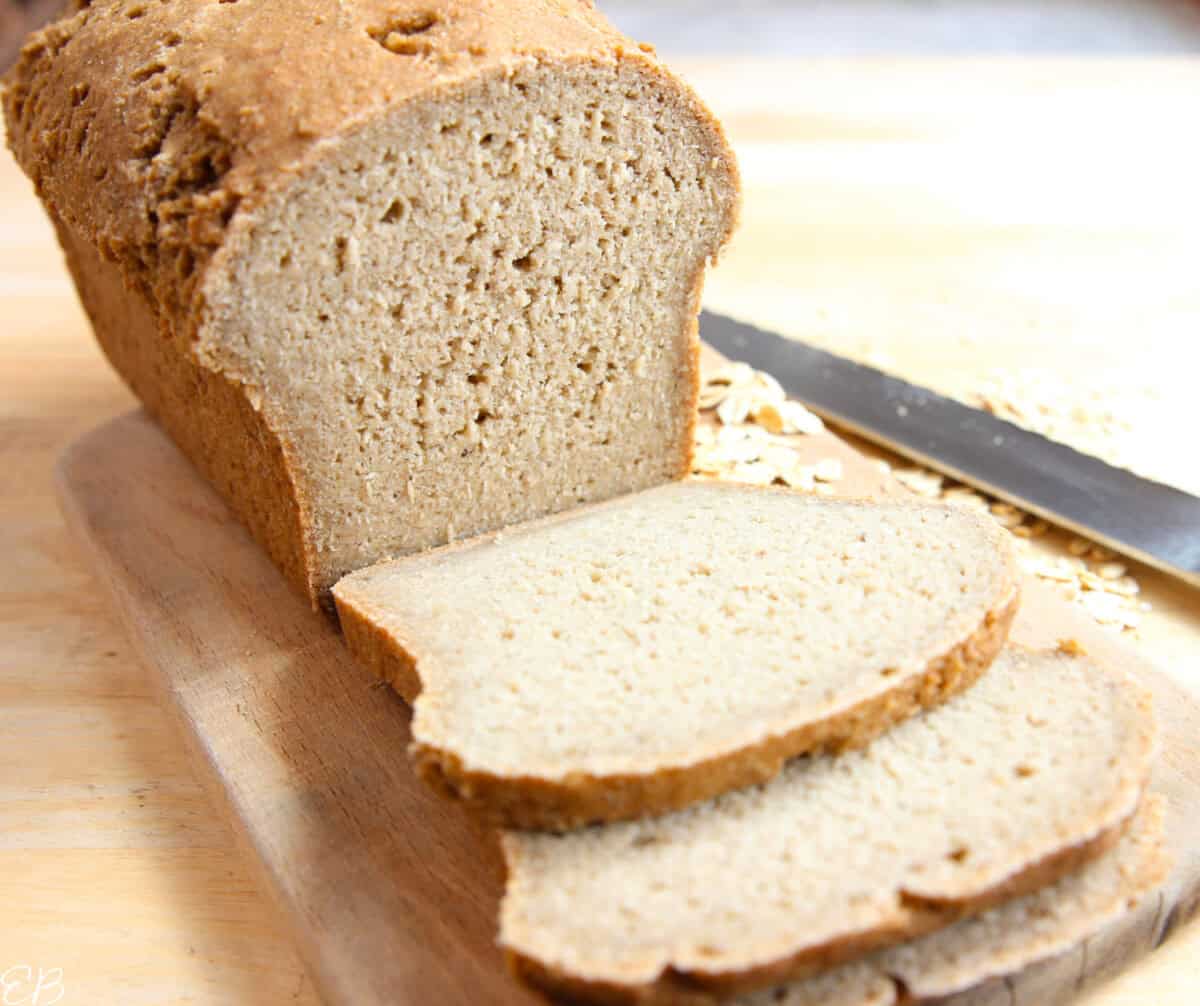
Ingredients in Sourdough Oat Flour Bread
Most sourdough bread recipes do not require chemical leaveners such as baking powder or baking soda.
Why this recipe uses sourdough starter, baking powder and baking soda.
Oat flour is naturally gluten-free, so it doesn’t provide the same structure as wheat flour.
Adding baking powder can help compensate for the lack of gluten in oat flour, which is essential for a good rise in traditional sourdough.
Also: The acids in sourdough react with the small amount of alkaline baking soda, allowing the baking powder to work more effectively.
The result? You will love it. A tender fluffy loaf that’s just as versatile as bakery or store bought, but healthier, and fun to make. There’s a reason it’s hard to find homemade Sourdough Oat Flour Bread! This recipe took a lot of trial and error. I know you will be just as happy as I am with the results!
Ingredients
- oat flour
- brown rice flour, or other flour, such as white rice, sorghum or a GF blend
- sourdough starter, I use this oat flour sourdough starter (should be a thick starter but still be able to dump or pour out thickly, with visible air bubbles. I have also used brown rice sourdough starter, this one. When using an all brown rice starter, I sub the one cup of brown rice flour in the recipe for oat flour, to compensate: So 3 cups oat flour total.)
- water
- psyllium husk, whole (not powder) — Psyllium husk acts as the gluten substitute in this bread, providing the binding power and elasticity needed to make the dough workable, light and fluffy. It also helps create the structure and support necessary for the bread to rise. This ingredient can not be replaced.
- coconut sugar, or preferred granulated sweetener
- baking powder
- baking soda
- quality salt
- olive oil, or avocado
How to make Sourdough Oat Flour Bread
In gluten-free sourdough baking, the “sponge” stage involves creating a wet mixture of flour, water and all or part of the sourdough starter. This mixture ferments for several hours, allowing the yeast and bacteria in the starter to develop and produce flavorful byproducts. This stage helps to improve the flavor, texture and overall rise of the final gluten-free bread.
While gluten-free flours don’t contain gluten (the protein that provides structure in traditional bread), the sponge stage can still help to develop some structure, enhance the rise of the bread and improve the overall texture and flavor of the bread.
An extra bubbly starter
This Oat Flour Sourdough Bread works with any active starter. But if you want to give your bread maximum volume, you can feed your starter twice a day the day before you plan to make the bread; so it will be extra bubbly and active.
The sponge
Make the sponge in the morning to bake the bread in the afternoon or evening. Or, make the sponge the day before you plan to bake. Both options work great.
- Combine oat flour, rice flour (or sorghum flour/GF blend etc), sourdough starter and water. Mix together well. Cover loosely. Set aside to ferment 6 to 24 hours.
The day you plan to bake
- Preheat the oven to 350℉. Prepare a loaf pan with either oil or parchment paper, so the loaf is easy to remove after baking.
- Add the remaining ingredients to the sponge, and mix well. I use a handheld electric mixer. (The dough starts out thin, more like a batter, and then thickens considerably after sitting 5 to 10 minutes, to become a thick sticky well-aerated dough.) You could also stir this mixture by hand, or use a stand mixer.
- Use a spatula to scrape the malleable dough into your prepared loaf pan. Use wetted fingers to smooth the top surface slightly. (Do not score the top. This recipe also does not need a proofing time or second fermentation. The chemical leaveners will give it a great rise in the oven.)
- Bake in the preheated oven 50 minutes, or until the top or bottom of the loaf sounds hollow when tapped/thumped.
- Cool on wire rack before slicing.
How to store Oat Flour Sourdough Bread
It keeps great, sealed, on the counter, for several days.
Or freeze for up to 3 months. Optional: Slice before freezing for easy toast and sandwiches.
Oat Flour Sourdough Bread
Equipment
- hand mixer , stand mixer, or it's okay to mix by hand
- loaf pan
Ingredients
- 2 cups oat flour
- 1 cup brown rice flour or other flour, such as white rice, sorghum or a GF blend
- 2 cups sourdough starter I use this oat flour sourdough starter (should be a thick starter but still be able to dump or pour out thickly, with visible air bubbles. I have also used brown rice sourdough starter, this one. When using an all brown rice starter, I sub the brown rice flour for oat flour: So 3 cups oat flour.)
- 2 cups water
- 1-¼ cups psyllium husk whole <-- see link (not powder) -- Psyllium husk acts as the gluten substitute in this bread, providing the binding power and elasticity needed to make the dough workable, light and fluffy. It also helps create the structure and support necessary for the bread to rise. This ingredient can not be replaced.
(70 to 80 grams: Slight variations in the weight of this ingredient still turn out the same good result.)
- 3 Tablespoons coconut sugar or preferred granulated sweetener
- 1 Tablespoon baking powder
- 1 teaspoon baking soda
- 1 teaspoon salt
- ¼ cup olive oil or avocado
Instructions
The sponge
- Make the sponge in the morning to bake the bread in the afternoon or evening. Or, make the sponge the day before you plan to bake. Both options work great.
- Combine oat flour, rice flour (or sorghum flour/GF blend etc), sourdough starter and water. Mix together well. Cover loosely. Set aside to ferment 6 to 24 hours.
The day you plan to bake
- Preheat the oven to 350℉. Prepare a loaf pan with either oil or parchment paper, so the loaf is easy to remove after baking.
- Add the remaining ingredients to the sponge, and mix well. I use a handheld electric mixer. (The dough starts out thin, more like a batter, and then thickens considerably after sitting 5 to 10 minutes, to become a thick sticky well-aerated dough.) You could also stir this mixture by hand, or use a stand mixer.
- Use a spatula to scrape the malleable dough into your prepared loaf pan. Use wetted fingers to smooth the top surface slightly. (Do not score the top. This recipe also does not need a proofing time or second fermentation. The chemical leaveners will give it a great rise in the oven, and it is already quite aerated from the reaction between the acidic sourdough and the baking soda.)
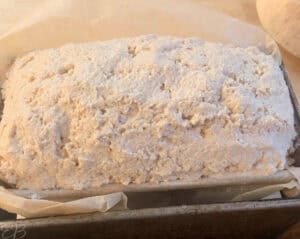

- Bake in the preheated oven 50 minutes, or until the top or bottom of the loaf sounds hollow when tapped/thumped.
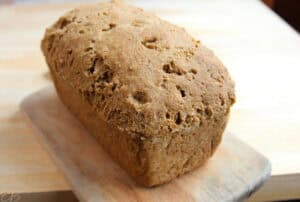

- Cool on wire rack before slicing.
How to store Oat Flour Sourdough Bread
- It keeps great, sealed, on the counter, for several days.
- Or freeze for up to 3 months. Optional: Slice before freezing for easy toast and sandwiches.
Nutrition
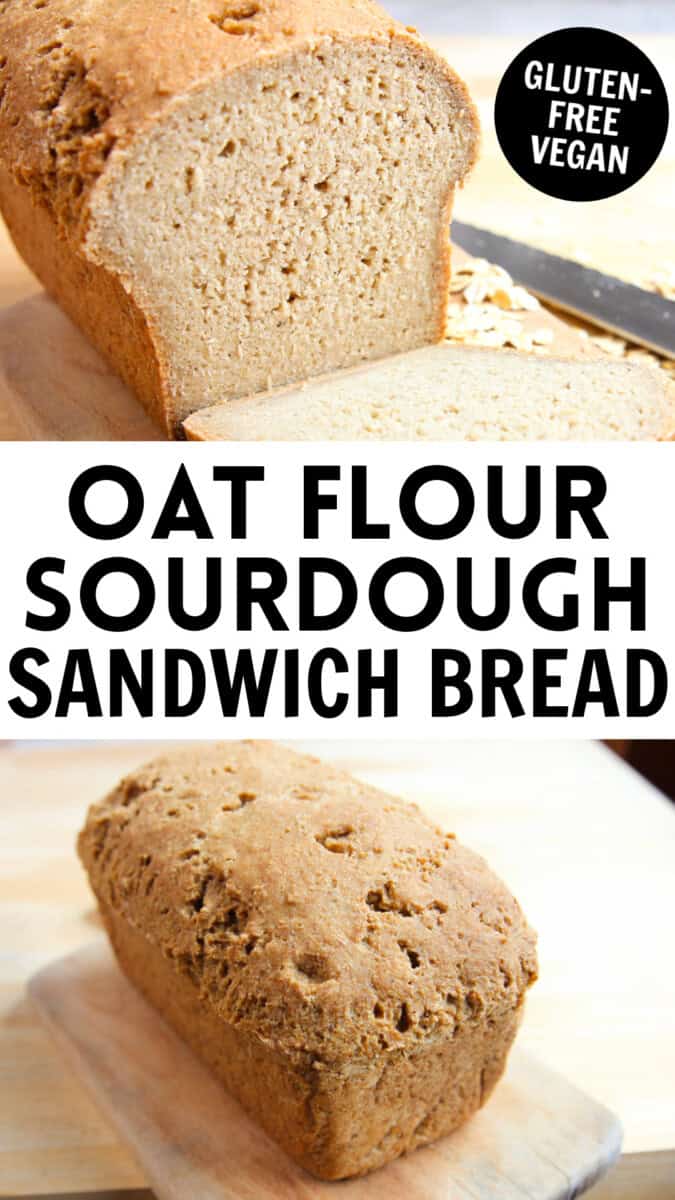
Pin Oat Flour Sourdough Bread here:

Carol Ramsay says
Hi Megan, I am following a low vit A diet but I am not gluten free. I eat oats for the fiber. Can I make this oat bread with a wheat flour sourdough starter? Or do I need oat starter?
Thanks,
Carol
Megan says
Hi Carol, yes, you can make this recipe with your wheat flour starter. 🙂 I am similar to you, not gluten-free, but I like having the oat flour sourdough starter. Nonetheless, I love that this recipe supports whatever starter you have, to make your life easier hopefully. 🙂 I hope you enjoy the recipe!
Judy says
Is 1 1/4 cups of whole psyllium husk a typo?? I have baked a lot of gluten free s.d. bread…and I have NEVER seen psyllium husk used in those exorbitant amounts. 1 1/4 cups of psyllium husk would be around 320g. . Most gf s.d. bread recipes for the amount of flours in the recipe (+ the flour amount in the starter itself) so around 510g TOTAL FLOURS – would use no more than 30g of whole psyllium husk (about 5.7%). So 320g (1 1/4 cups) is way over stabilized – in my view….unless it is a typo of course. Just wondering.
Megan says
Hi Judy, I just added the weight to the recipe, and I’m sorry I left that out. Yes, it’s 1-¼ cups! I’m not sure how you’re getting your weight, but that is not accurate. 1-¼ cups psyllium husk whole = anywhere between 70 to 80 grams. 🙂 It turns out a perfect loaf every time, even if there’s just a slight variation in the amounts. I love this recipe because it’s no-fuss and easy, sure to succeed!
Judy says
My mistake on the 320g psyllium amount – I forgot to tare the scale with the measuring cup when I weighed the whole psyllium husk. I re-measured, it still came to 95 grams ( not 70-80g) – but am sure different measuring cups and different whole psyllium would account for the variations. It’s a lot of psyllium…but others say it works, as does your testing, so I will give it a go. Thanks for your reply.
Megan says
Hi Judy, you’re welcome. No problem with checking! 🙂 I hope you love the recipe!
J says
Hi Megan, I made this bread immediately and we love it! I just had to say thanks and give it 5 stars! We’ve been needing an oat flour loaf and a sourdough loaf, and to have them together in a healthy recipe (no bad ingredients) is WONDERFUL! The baking soda and baking powder and no second rise is really neat and makes the recipe really easy. I didn’t weigh the psyllium and that turned out fine also. I haven’t use a recipe with that much before but it turned out perfect. Thank you for all the work you do recipe testing. This recipe is already one of my favorites of yours and it’s one we’ll be making for years to come I’m sure.
Alfreda G. says
This was delicious! Reminded me of my childhood and my mom’s homemade healthy wheat bread.
Thank you Megan!
Megan says
My pleasure, Alfreda!! YAY, so glad you enjoyed!
Heidi says
Megan,
I love your recipe! I finally have my brown rice starter, active, and starting to experiment with sourdough for the first time. I have missed bread so much with my dietary restrictions. A few questions, do you use a certain size loaf pan? Do you need the water to be a certain temperature? Do you also ferment the sponge at a certain temperature? I think it was on my counter, but maybe I should’ve had it covered in my oven with the light on? I had it ferment for about seven hours. It did rise, but wondering if I could give it even more lift.
It has such a lovely taste and next time I will try 3 cups of oat flour with my rice starter. I used 2 cups oat flour and one of sorghum. But it is far exceeding other recipes. I’ve tried! Thank you so much for all of your hard work!!!!
Heidi
Megan says
Hi Heidi, I’m sorry I missed your message until now! So glad you’re enjoying the recipe! 🙂 Any size loaf pan works great. If you want a taller loaf, though, you can use a smaller loaf pan, so it rises up and higher. Room temp water. Room temp for sponge, but we do keep our home fairly warm. Perhaps you’ve experimented now a bit more on your own with the recipe, too, since a few months have passed.
Anne says
Hi, this is the first time I want to make a gluten-free bread. Normally I do a spelt bread with 125 grams of sourdough starter (with 500 grams spelt). I see there is around 400-500 grams sourdough starter is this receipe, is that normal with gluten-free recipes ?
Megan says
Hi Anne, no, it’s not necessary with all gluten free sourdough breads. It’s just how I designed this recipe, and it works well here. 🙂
Cory says
Would that much psyllium cause intestinal distress? It seems like a large amount. Thanks!
Megan says
Hi Cory, it does indeed for some people, but most are fine with it. You never can guess who will be sensitive to what. I am sensitive to certain foods, but that much psyllium never bothers me. My body likes it. It likes that form of extra fiber/bulk, and actually feels good in my belly. So, it depends on your unique body. 🙂
Jackie says
Hi Megan, looks so yummy 😋… I can’t wait to make it. My question is do I need to put the whole psyllium husk in? It’s a prebiotic that I need to stay away from for a while due to my health condition.
Megan says
Hi Jackie, yes, this is a necessary ingredient. Hopefully you can try the recipe in the future. Best!
Alex says
This looks great! Some questions. “This Oat Flour Sourdough Bread works with any active starter. But if you want to give your bread maximum volume, you can feed your starter twice a day the day before you plan to make the bread; so it will be extra bubbly and active.” – is it supposed to be at peak? Or do I feed it twice on the day before making the sponge and place it in the fridge overnight? Assuming I make the sponge in the morning. Or do I do that and then feed it when I wake up and let it come to peak before making the sponge?
My starter is half buckwheat and half brown rice flour. So I should exchange 1 cup of the flour with oat flour, right?
Thanks so much! I’ve made so many bad oat flour recipes but I’m really hopeful for this one!
Megan says
Hi Alex, don’t place your starter in the fridge. I’m confused by your questions. You can use your starter at any stage of feeding as long as it’s not been in the fridge. It can be fed the day prior, and then make the bread in the morning. I’m not sure what you mean about exchanging the flours. Use your starter as is, and then follow the recipe (don’t add oat flour to your starter). I hope that helps to clarify! 🙂
Alex says
Sorry but more questions! “Set aside to ferment 6 to 24 hours.” How will I know when it’s ready? Will it look like starter at peak?
You said any loaf pan works but bread a long, narrow pan bakes in about half the time a 9″x5″ despite having the same volume (at least with the recipes I’ve tried). Did you use a 9″x5″ or something else?
And you said you do the sponge at room temp but keep you home warm. What temp do you recommend? Room temp varies in my home between 60-84 F, so room temp doesn’t tell me much. 😆
Sorry to be annoying! Like I said before, I’ve made tons of bad oat breads before. I’m desperate to have everything go well! 😁
Megan says
Hi Alex, no problem. The ferment time is based on how fermented you want your ingredients. The loaf will bake up beautifully either way. This is an easier recipe than most; you’re not waiting for anything to happen visually or to create a better rise; it’s just a matter of flavor and digestion with the longer ferment. Choose a 9×5″ pan to keep it simple. Best temp is 70-80, but again, this loaf is more forgiving than most. Hope everything goes great!! 🙂
Alex says
Thanks so much! That’s good to know. I’m worried about over- or underfermenting. I bought a waffle maker yesterday just to make your sourdough oat waffles (I was really excited!) and was nervous about the first step where you mix together the first 4 ingredients. But I really wanted to try them ASAP, so I didn’t bother asking about when to know that mixture (the first 4 ingredients) was ready. It was definitely overfermented. It had collapsed within 8 hours of mixing. Because of that, I think my waffles were way denser than they’re supposed to be. I love the flavor of sourdough, but these were over-the-top sour. 😄 I guess for the bread, I’ll just keep a close eye on the first 4 ingredients and stick closer to 6 hours as I really don’t want it to be dense! I’ve had enough bad oat flour breads and am desperate to avoid another. 🙃 Thanks!