I may receive a commission if you purchase through links in this post. I am not a doctor; please consult your practitioner before changing your supplement or healthcare regimen. As an Amazon Associate I earn from qualifying purchases.
In this article, How to Make (or Convert to) an Oat Flour Sourdough Starter, I share with you how to do one or two of three things:
- Make an oat flour sourdough starter from scratch.
- Convert an existing starter (either white flour or gluten free) to an oat flour sourdough starter.
- Buy the best gluten free sourdough starter, made from heirloom strains, and have a starter ready to go in just a few days!
I think the last two options combined create the easiest and most exciting starter: Purchase the heirloom starter I discuss below, and convert it.
But if you’re on a tight budget and want to receive a free starter from a friend, it’s really fun to convert any starter to oat flour.
Or, if you love DIY ancestral techniques and passionately want to create your own starter from scratch, that’s a great project, too.
If you buy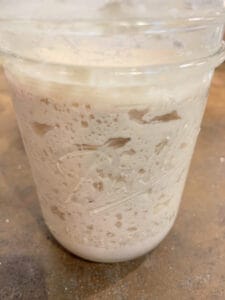

If you buy this heirloom gluten free sourdough starter, it comes with good instructions. The recipe requires good quality brown rice flour. (I recommend and use this one.)
Once it’s firmly established, which only takes a 3 to 5 days for most people, you may wish to convert it to oat flour. If so, follow the directions below.
In my opinion, this is the best product and method for acquiring a really strong and active oat flour sourdough starter. Start with this strong active heirloom strain, and convert it.
Converting a starter to oat flour
Converting a white flour, or gluten-free, sourdough starter to oat flour can take anywhere from a few days to over a week — sometimes up to 10 to 14 days — depending on your method and how active your starter is.
The process involves gradually transitioning to oat flour, either by switching to full oat feedings right away or by slowly increasing the proportion of oat flour over several days until the starter is fully oat-based.
In the past, I’ve converted a white flour starter and a gluten free starter to all oat flour.
Converting an existing starter to oat flour is the easiest way to get an Oat Flour Sourdough Starter, so I highly recommend this method!
General approach to converting your starter
I’m going to share the conversion process first, because it’s the easiest.
The conversion process has fewer unknowns and variables than creating your own from scratch — and is pretty much a “sure thing” as far as success goes:
- Assess your existing starter : A healthy, vigorous starter will adapt to oat flour more easily. (Here’s the best one.)
- Then, begin the conversion.
Day 1:
Start feeding your existing starter with oat flour using a ratio of 1:1:1 or 1:2:2 (starter:oat flour:water). If you prefer an even gentler approach, begin by replacing about 25% of the flour with oat flour and increase the proportion over several days.
Days 2 to 6:
Continue feeding with oat flour and watch for changes. You may see bubbling at first, followed by a slower phase as the microbial community adjusts.
Signs Your Starter Is Ready
Most sources say that your starter is fully converted when it reliably doubles in size within a few hours of feeding and has a pleasant sweet-tart, slightly vinegary aroma.
Many oat flour sourdough starters never double in size, and that’s not a problem. It’s actually normal for oat flour starters to be less bubbly. They still perform beautifully, making good bread, waffles and more.
Are oat flour sourdough starters less vigorous and bubbly
Oat flour sourdough starters are typically less vigorous and bubbly than traditional wheat-based starters. While an oat starter can be very active and create good bread, its visual behavior is different due to the lack of gluten.
The key differences stem from the lack of gluten structure, the heaviness of the flour and lower overall protein content.
Why oat flour starters are less bubbly
No gluten structure
Wheat flour contains gluten, a protein network that strengthens the dough and traps the carbon dioxide gas created by fermentation. This trapped gas is what causes a wheat starter to rise dramatically and fill with large bubbles. Oat flour is gluten-free and does not have this trapping ability.
Heavy and sticky
Oat flour’s texture is naturally heavier and stickier than wheat flour. This density can prevent bubbles from forming or rising to the surface, making the starter appear less active even when the wild yeast is working effectively.
Water content
Due to the weaker structure, a thinner, higher-hydration oat starter will have smaller bubbles and appear less bubbly than a thicker one. The gas escapes more quickly because there is nothing to hold it in place.
What to look for in an active oat flour starter
Since you can’t rely on the visible doubling in size or large bubbles of a wheat starter, you must use other indicators to tell if your oat flour starter is ready.
Sour smell
A healthy oat flour starter should develop a pleasant, slightly tangy aroma. If it smells sour and yeasty, it’s a good sign of fermentation.
Surface bubbles
Instead of large bubbles trapped throughout, you will likely see a layer of smaller bubbles forming on top of the starter. A sometimes “hilly” texture with small bubbles indicates fermentation is occurring.
If your oat flour starter smells right and has even several bubbles on top, it is likely ready to use for baking, even if it does not “look” like a vigorous wheat starter.
Tips for success
- Be patient and observant as the microbes establish themselves in the new environment.
- Maintain a consistent feeding schedule, even if the starter seems sluggish. Feed daily.
- Use high-quality oat flour, as the quality of the flour can impact the starter’s activity. (I use this one.)
How to make an Oat Flour Sourdough Starter from scratch
You can create an oat flour sourdough starter using just oat flour and filtered water, following the same process as a traditional sourdough starter.
The process takes about 7 to 10 days to get a robust starter, but the specific timeline can vary depending on the temperature of your kitchen and other factors.
Equipment needed
- Large glass jar (quart or pint): Choose a clear jar so you can easily keep an eye on how active your starter becomes.
- Breathable cover: Use cheesecloth, a coffee filter or a loosely fitted lid to cover the jar. This protects the mixture from debris while still allowing airflow. (I like these.)
- Stainless, silicone or wooden utensil: Stir the starter with something non-reactive, such as a stainless steel spoon, a long wooden spoon (like these) or silicone spatula. (Some people do not recommend wood, in case it harbors bacteria. I haven’t had a problem with this.)
- Optional — Digital scale: Measuring by weight gives you more consistent results than using measuring cups and helps ensure your starter thrives.
Ingredients
- Organic oat flour (here): Whole-grain flour works best because it’s richer in nutrients, giving the wild yeast plenty to feed on.
- Filtered water: Chlorine in tap water can slow or stop fermentation, so use filtered or spring water if possible. If you must use tap water, leave it out overnight so the chlorine can evaporate.
Instructions
Day 1: Start your culture
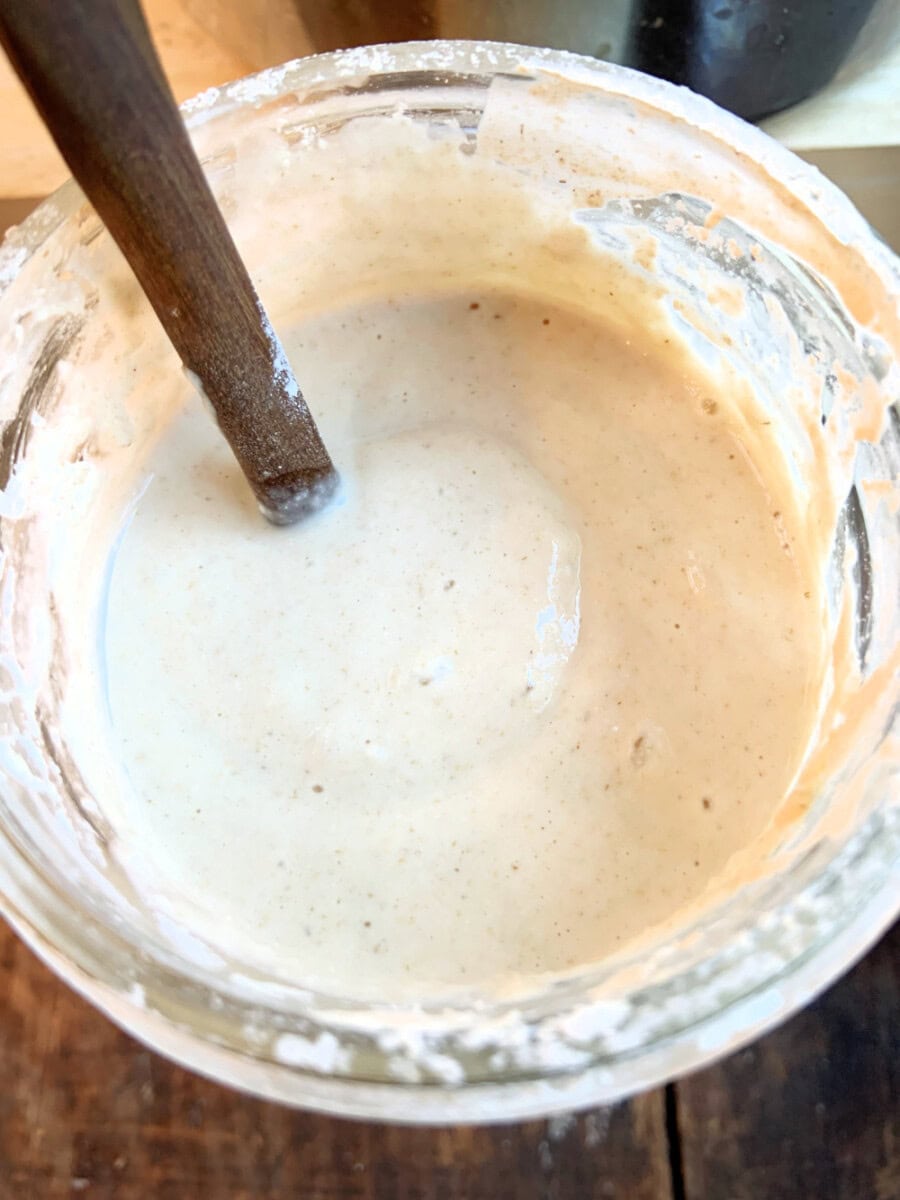
In your glass jar, mix 1/2 cup (60 g) oat flour with 1/2 cup (120 g) filtered water. Stir well until no dry bits remain. Cover loosely and place the jar somewhere warm — ideally around 70–75°F — and let it sit for 24 hours.
Day 2–4: Stir and observe
Over the next few days, give the mixture a good stir once or twice daily. You might begin to notice bubbles forming or a mildly sour scent developing. Don’t be alarmed if it smells a little off at this stage — that’s normal.
Day 5: First feeding
When you see steady bubbling, it’s time to give your starter its first feeding. Stir it well, discard about half, then mix in 1/2 cup (60 g) fresh oat flour and 1/2 cup (120 g) filtered water. Stir until smooth. Place a rubber band around the jar at the starter’s current level to track its rise after feeding.
- (Frugal sidenote: I usually throw the “discard” into waffle batter, as I don’t like wasting it. Waffles are pretty forgiving and oftentimes it’s easy to sub or add in the extra flour and water.)
Day 6 and onward: Keep feeding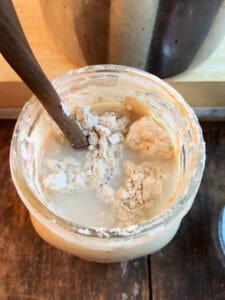
Continue the same routine every 24 hours: discard half, feed with fresh flour and water, and stir thoroughly.
Watch for signs of strong activity. Ideally, your starter should become increasingly bubbly and may volumize within 4 to 12 hours after each feeding. If it’s especially active, you can switch to feeding it every 12 hours.
Day 7–10: Ready to bake
Your oat flour starter is ready when it’s reliably bubbly, and has a pleasantly tangy aroma. Once it hits that stage, you can start baking with it.
Tips for the best results
Keep it warm: Wild yeast thrives in a warm environment. Good spots for some homes include the top of your fridge, inside an oven with just the light on or near a sunny window.
Metal myths: Despite what you might hear, using a clean metal spoon won’t harm your starter. But, it does need to be stainless steel. Avoid other metals like copper, aluminum or silver.
Rely on your senses: The smell tells you a lot. A healthy starter should smell yeasty and slightly tangy; an unpleasant odor may signal a problem.
Mind the consistency: Oat flour absorbs water differently than wheat, so you may need to tweak the water amount slightly. Aim for a texture similar to thick pancake batter.
Conclusion: What should it look like
Unlike wheat-based starters, a healthy oat flour sourdough starter won’t rise dramatically. Because oat flour is gluten-free, it lacks the elastic structure that traps gas and causes a starter to double or triple in size.
Instead, a thriving oat starter will look active and bubbly but maintain a thick, paste-like consistency.
Right after feeding, the mixture should feel thick and sometimes slightly stretchy, similar to a dense pancake batter or wallpaper paste. At its peak, usually 4–6 hours later, it will loosen slightly, develop some small bubbles on the surface, and may or may not deflate when stirred while still holding a cohesive pancake batter texture.
You won’t see a big rise, but you’ll notice bubbles on the surface, sometimes throughout and possibly a “lively” appearance.
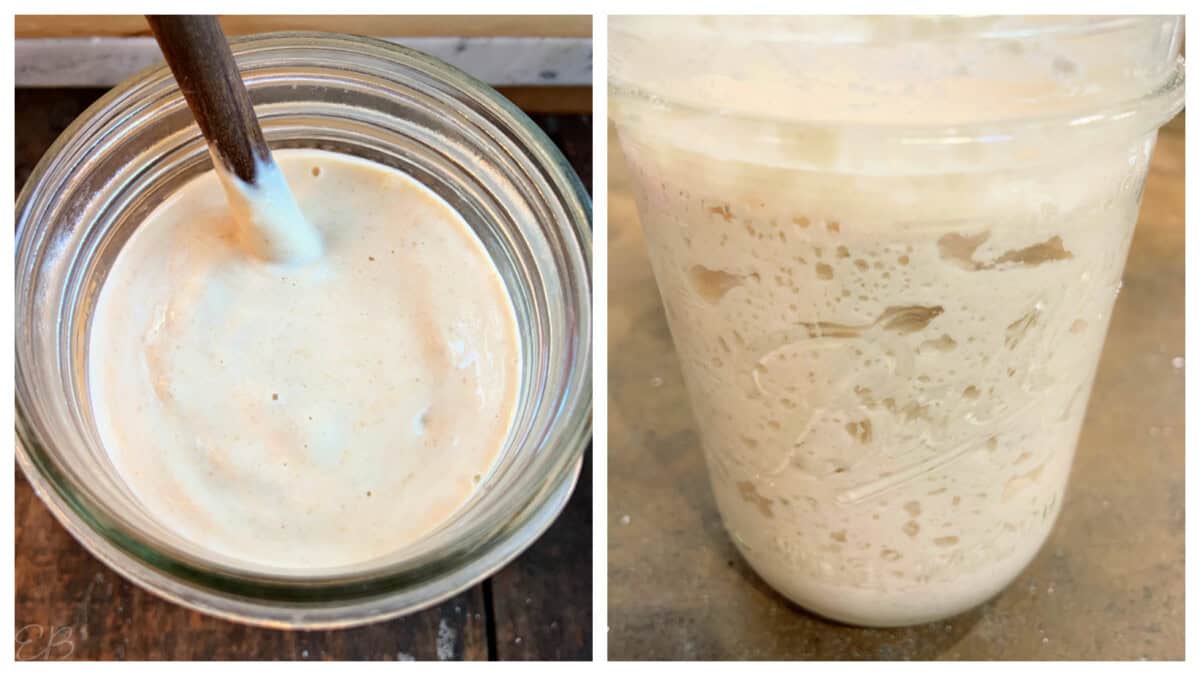
A healthy oat starter will have a uniform light tan color and a tangy, slightly fruity, yeasty aroma. While the scent can be strong, it shouldn’t smell rotten or unpleasant.
If a pinkish film presents at the surface, you do not need to throw out your starter. Only the surface needs some love. Feed your starter, stir it, and the good flora will overcome the bad. Follow with regular consistent feedings.
Pin How to Convert Your Sourdough Starter to Oat Flour here:

A says
This sounds delicious, Megan! Can’t wait to try. Thanks for sharing your methods. Looking forward to exploring sourdough baking – and utilizing discard.
Megan says
Great, A, so glad! Yes, it’s so much fun to make sourdough, and it’s a good feeling to use the discard! 🙂
Marion says
Megan! I am so glad for this starter information. I wanted to start and this arrived in time to do so!! I’m excited. Also, to make bread….you said that is coming? Or do I just begin adding oat or other gluten free flour and have at it like I would ‘normal’ kneading, rising, kneading and baking when I was a kid? Thanks, Marion
Megan says
Hi Marion, yay, so glad this recipe came in time! 🙂 I would say to wait for my recipe (if you want to use oat flour) because making oat flour sourdough bread is tricky, which is why it isn’t more common. But you could make another gluten free loaf with this starter. I should be publishing my oat flour sourdough bread recipe this week! 🙂
Therese says
Where is the bast place to store the starter once it is established? And how often does it need to be fed if I am not using it regularly?
Megan says
Hi there. Ideally: On the counter, room temp, and I feed mine daily. But if you want to feed yours less, it can be stored in the fridge. To wake it up, bring it to room temp for 2 hours, and then feed it with flour and water. 🙂